There is an art to creating a great fitness center. In addition to providing the latest equipment, friendly knowledgeable trainers, clean locker rooms, and lots of hot water, your locker room needs to breathe.
Unfortunately many locker room ventilation systems are improperly designed, leading to issues such as high humidity, mold, corrosion, nasty odors, and unhappy members. On the other hand, a well-designed ventilation system means happier members, reduced maintenance, and increased sales.
Locker rooms are constantly bombarded with moisture from members who come in perspiring after workouts; from the humidity released when they shower; and by the moisture released in steam and sauna areas. That’s why it is critical to provide effective dehumidification combined with an exhaust system designed to capture and exhaust large quantities of moist air out of the building. If the excess moisture in the locker room is not properly vented, it will affect lockers, benches and other assets, and migrate to other areas of the facility.
Whether you are building a new facility or renovating an existing locker room, make sure your architect or engineer is providing an effective ventilation system that exhausts moisture out of the building as required by the International Building Codes. Some of the ventilation technologies currently being used for fitness facilities, include:
- Energy Star-rated products, including solar-powered fans and other eco-friendly technologies,
- Systems which reduce the energy required for drying and dehumidification, such as liquid desiccant technology,
- Bi-polar ionization air-purification systems, to ventilate and also break down odors
- And equipment that measures volatile organic compounds and particulates
Other Locker Room Considerations
In addition to proper ventilation, also consider the following when designing your locker room.
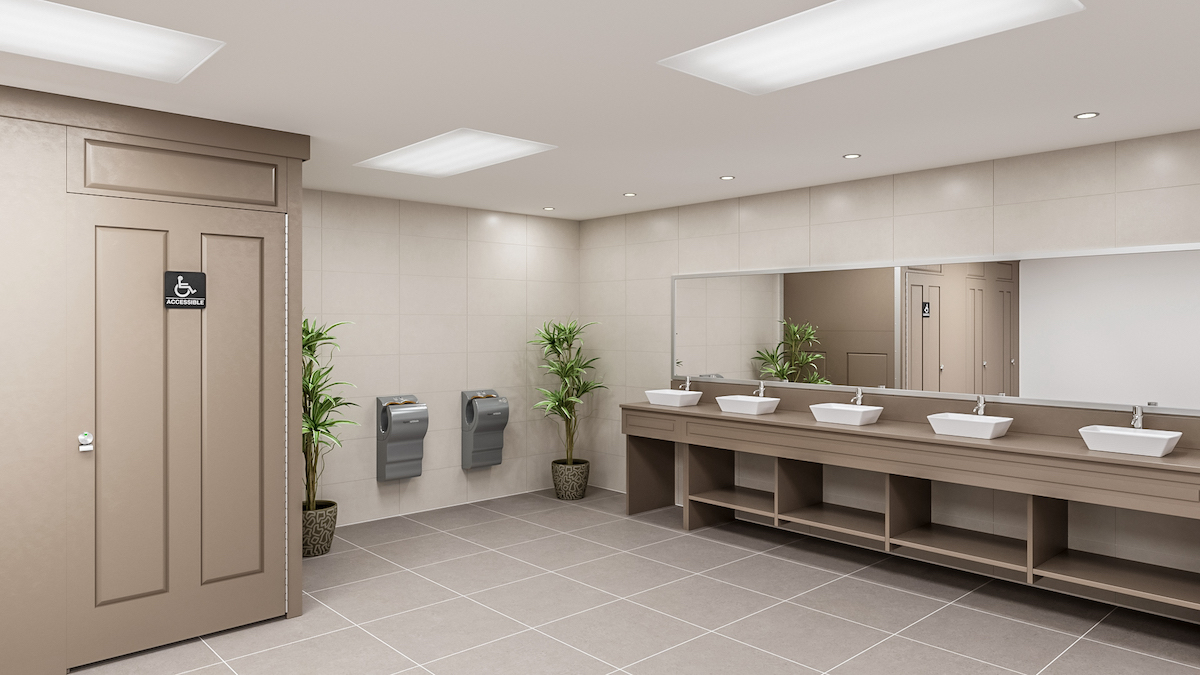
- Using water-sealed ceiling tiles and ceramic floor tiles
- Installing CO2 sensors for ventilation control
- Selecting lockers that will not absorb moisture, and that will not corrode or delaminate in a high-moisture environment
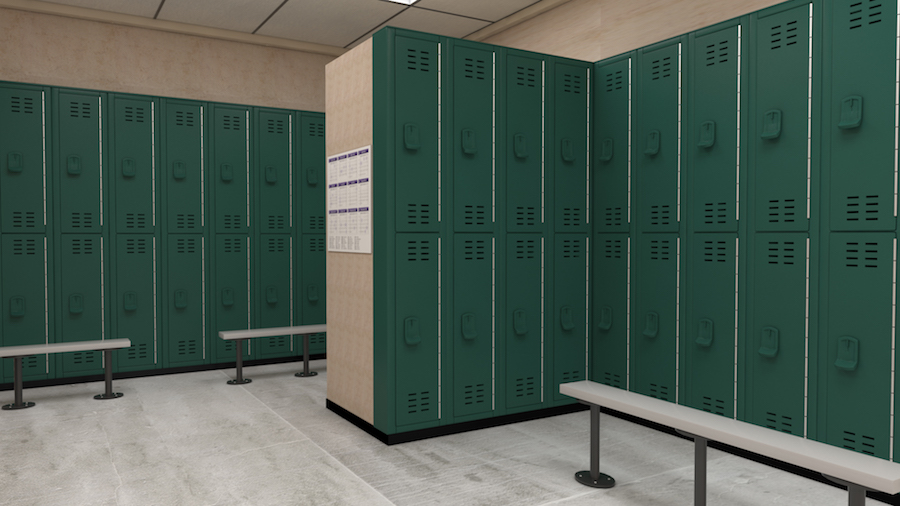
Hunter Green Tufftec Lockers
Specify Tufftec Lockers®
Locker rooms – and the lockers in them – can be breeding grounds for mold and bacteria. Manufactured from solid HDPE, Tufftec Lockers® stand up to the many challenges of the locker room environment. Moisture is never an issue. Tufftec Lockers® are impermeable to moisture, resistant to mold and mildew, and will never rust, corrode, or delaminate. They are also naturally bacteria resistant and will not support the growth of bacteria, including MRSA. Easy to clean, and impact and dent resistant, Tufftec Lockers® will preserve their good looks for years to come. And most importantly, your investment is backed by the best warranty in the industry.
Selecting Scranton Products Tufftec Lockers® for your facility is a sound investment that will help keep your locker room odor-free, reduce your maintenance sots, and keep your members happy for many years to come.
To find out more about Tufftec Lockers® and our customizable locker solutions, please click on the link below.