Renovating Your School’s Locker Room: Your Go-To Guide
An outdated locker room isn’t just an eyesore. It can be downright dangerous for students and faculty depending on the materials used and the overall condition of the facility. Although, completely renovating your school’s locker room is no small task, as any superintendent or school board member can tell you. So to help you make sense of the renovation process, we’ve created this custom guide!
Follow the steps of this guide so you can easily renovate your school’s locker room!
Understanding Your Renovation from Start to Finish
Depending on the scale of your renovation project, planning, and construction can take months or even years. To make sure that your plan goes off without a hitch, it’s important to understand each stage of the renovation process. Equally as important, you’ll want to spend adequate time at each stage to see the process through completely. Trying to rush through a stage could result in extended projected timelines and going over budget.
Steps Toward Getting Started on Your Locker Room Renovation
Step 1: Fundraising
Having the money to pay for your renovation is probably the most important step. Most schools acquire these funds through fundraising or by selling a school bond. A school bond is kind of like a mortgage for a house, where a lender agrees to give you a certain amount of money with the understanding that you’ll make regular payments plus interest to repay the loan.
Step 2: Pre-Planning
During the pre-planning stage, you’ll want to establish a planning committee. If possible, it’s best to form your committee with people from a diverse set of disciplines and backgrounds. At this stage, the planning committee will be primarily responsible for determining what the goals are for the facility.
Step 3: Programming
Defining the types of activities and requirements of the space you’re designing is known as programming, a term borrowed from architectural planning. This is one of the most crucial stages of the renovation project and needs to be completed early on. Otherwise, you could end up delaying the project or, even worse, creating a facility that doesn’t meet your original expectations.
Check out Scranton Product’s Tufftec Lockers Product Kit Now!
Step 4: Schematic Design & Development
Now that you’ve completed your programming and come up with project budgets, you’re ready to talk to an architect and have them begin designing your facility. Review these designs with your planning committee and check in periodically so you can fine-tune the design as the architect works on diagramming the locker room.
Once the schematics are approved, the architect will get to work creating blueprints. These blueprints will also be used during the bidding stage and for estimating construction costs, so it’s important that your planning committee reviews the blueprints closely and makes sure they’re exactly what you want.
Step 5: Bidding
Once the architect has prepared all the proper documents, you’re ready to start taking bids for your project. During this stage, you’ll show your blueprints and other paperwork to general contractors, electricians, carpenters, and other needed subcontractors. They’ll in turn bid on the project (offer you a price to complete the project).
Step 6: Construction
The planning process is officially over! Now, you’re ready to break ground, so to speak, and start with the actual renovation of your locker room. During this time, you should plan to visit the locker room regularly to make sure that the renovations are being carried out according to your specifications. Any issues should be brought to the attention of the architect and project administrators.
Step 7: Purchasing Equipment/Furniture/Materials
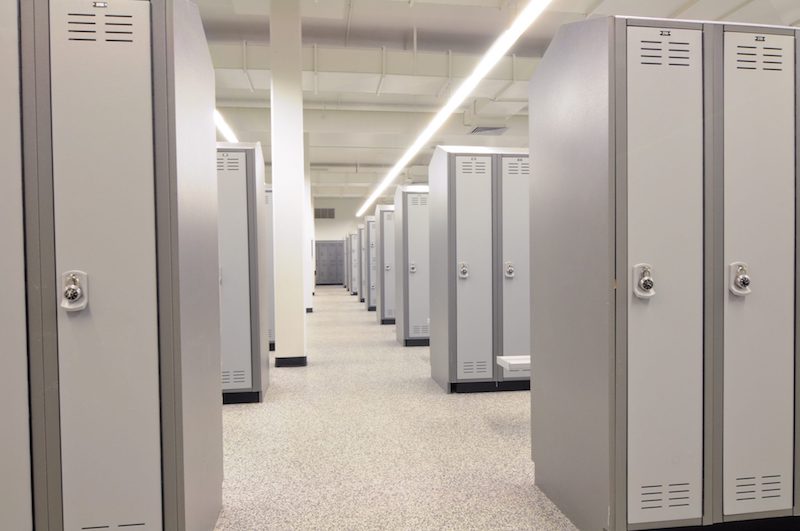
Now’s the time to start finding the right equipment and materials to help get the job done. Look out for any low-cost maintenance materials, such as lockers, partitions, and even benches. Once you’ve reviewed all of your options, choose the materials that are guaranteed to last you for a considerable amount of time. Metal lockers are the usual choice for locker rooms, however, HDPE plastic lockers have proven to outlast metal lockers and they even provide a more durable structure.
Check out Scranton Product’s Duralife Lockers Product Kit Now!
Step 8: Debut Your New Locker Room
Once the crew has made the finishing touches on your locker room with installing the materials and having painted the walls, you’re ready to unveil the newly renovated locker room!
Renovating Your School’s Locker Room
Now that you’re aware of the crucial steps towards renovating your locker room, you’re ready to get started! Remember that a renovation project of this magnitude requires considerable funds, the best materials, and the right crew to get the job done. A project like this takes time, but after it’s finished, you’ll have a newly renovated locker room that you can be proud of.
Want to learn more about choosing the right materials for your locker room renovation? Check out this blog post, Lockers That Can Save Your School Money, from your friends at Scranton Products.

